Sunday, February 24, 2013

My Twin, the Dress Form – Part 3

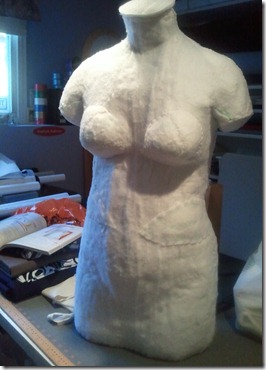
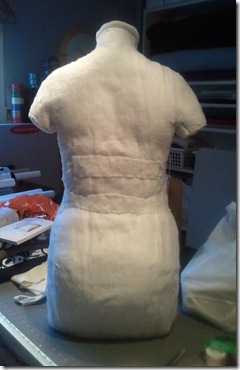
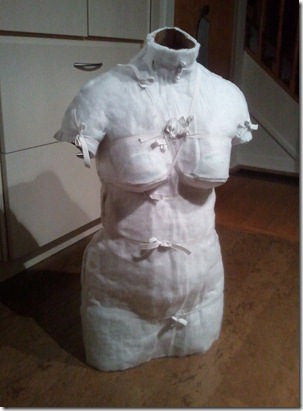
So I have made some progress on this dress form, but have reached a standstill. Part 3 is basically finished, the two halves are reattached and the exterior padding has been augmented to resemble my shape a bit more! All it needs now is a skin!

2013-02-05 006 2013-02-05 007

This is turning out a bit harder than I thought; to find a fabric to cover the form. The stretchy fleece I had lined up turned out to be to “sticky”; it’s hard to slip something over that stuff. Something more slippery would work better. I even toyed with the idea to make a cover using real muslin. That might be tricky though, as when I’d started to drape it and found myself having to pin out all kinds of darts! Muslin would look superb, but you know,  it lacks stretch.

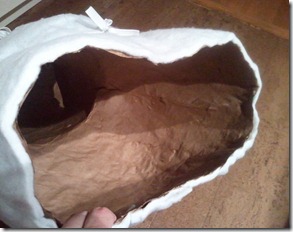
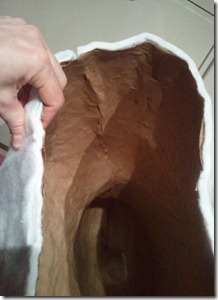
The inside was put back together by using the same brown paper tape along the sides, and it’s holding pretty well so far.

2013-02-02 005 2013-02-02 004

This is how it looked while waiting to harden, there’s lots of regular elastic holding it together. (It’s also what it looked like before I augmented it with more of the Needlepunch batting. I had to stitch quite a bit more of the batting in place.)

2013-02-02 006

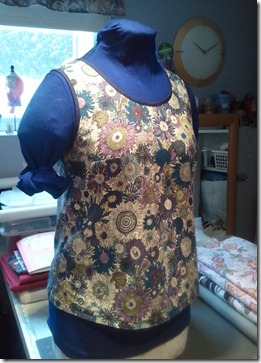
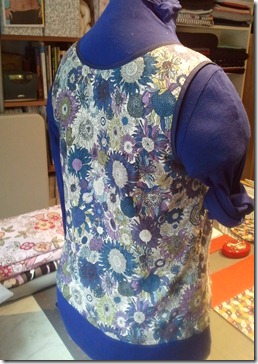
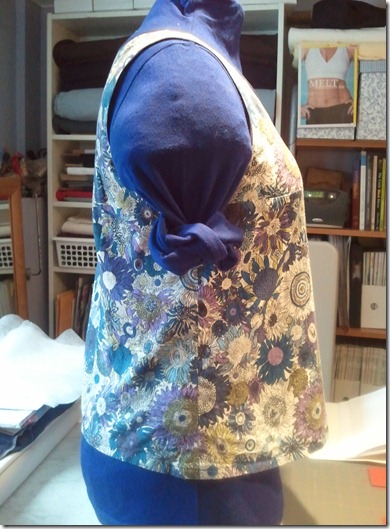
Just for fun, I found a turtle neck top I haven’t worn since finishing (it’s a fail), and slipped it over. It’s not bad, just a bit short and wide. Then I put my Sorbetto top on top to compare the fit, and it’s amazingly close to how it fits on me. The neckline sits pretty well on the front and back.

2013-02-20 09.07.41 2013-02-20 09.08.18

And here’s the telling shot about the bottom edge of the front, look how it sticks out! I know why it does this, and at least it’s a simple fix.

2013-02-20 09.08.50

Part 4 is the stand, and I’m still trying to figure that out. It’s friggin hard to put a skirt on her without one! I can’t wait to get this thing done.

Wednesday, February 20, 2013

Bucket Bag for Me!

So I was feeling the need for a quick sewing fix, as we were out of town last weekend (a 3-day holiday weekend here in Ontario, Family Day!), visiting with family far away, so no sewing. It was actually great, as I needed some time outside in the snow with my boys!

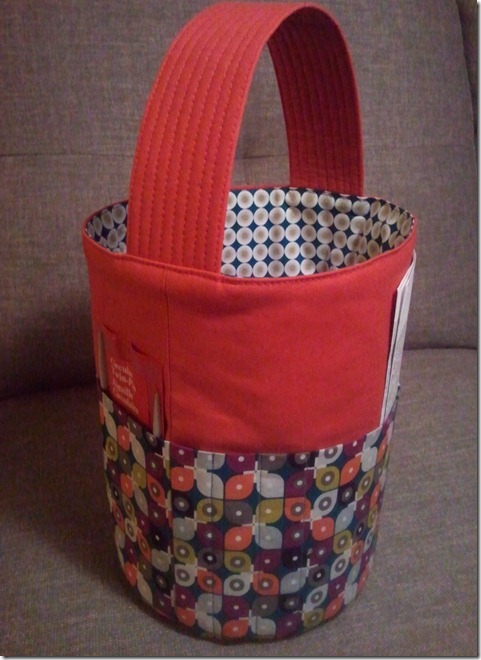
Anyway, this bucket bag is made following the Craftsy course, Bag-Making Basics: Drawstring Bag & Bucket Bag. It’s FREE! This little bag is neat. It stays open, and that’s exactly what I wanted for my knitting.

Bucket Bag #1

I bought this fabric from a new shop here in Ottawa, called Fabrications*. They’ve got some lovely organic cottons, it feels so soft and is fabulous to sew with. I bought 1/2 meter of 3 pieces, and had plenty for 3 different little sewing projects (with leftover). These will make a nice break from the long projects.

Now I just need to find some real fusible fleece, which the pattern calls for. I could only find fusible batting, and it’s not quite right for this, too thick. But, it turned out well enough, and I love the fabric colours.

Oh, here’s a few pics from last weekend. Can’t resist!

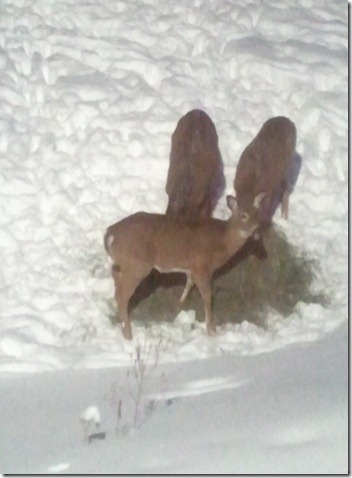
2013-02-16 005

The deer were on the front lawn after dinner! My BIL had some alfalfa left out for them.

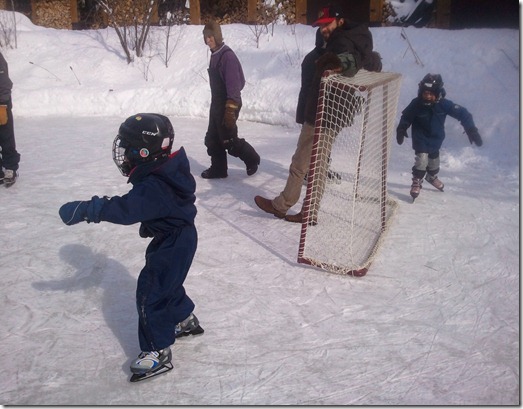
2013-02-17 003

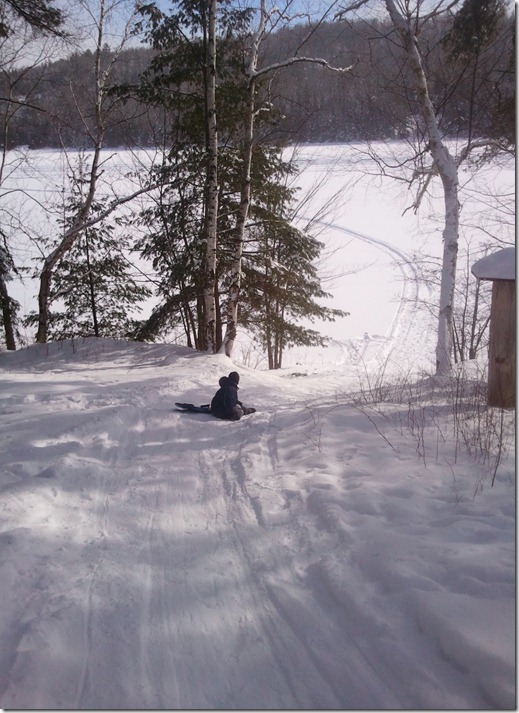
It’s their very own skating pond!

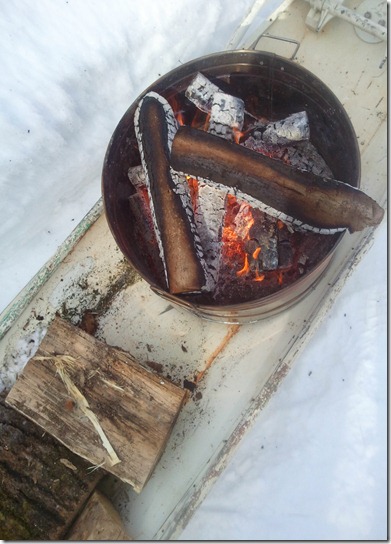
2013-02-17 015 

Keeping warm at the side.

2013-02-17 038

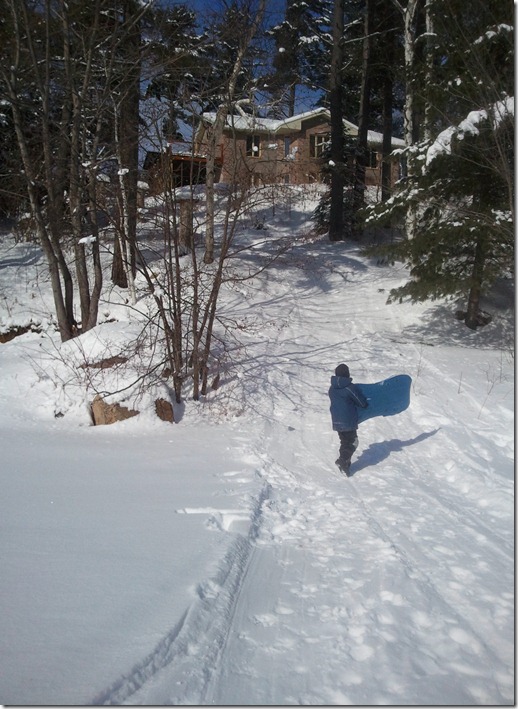
Climbing up the hill for another run down to the lake. It’s quite steep!

2013-02-17 045

2013-02-17 062

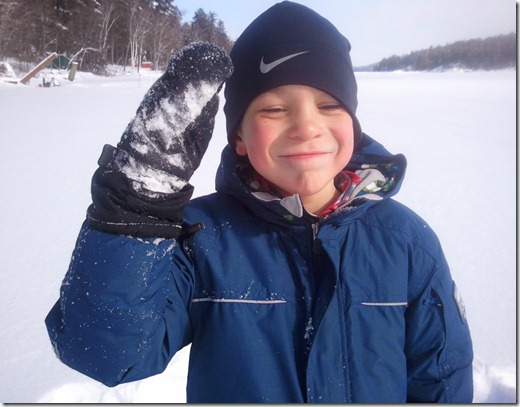
Oliver! Great weekend!

* For anyone in the Ottawa area, I just found out about this place from Tasia’s post a little while back. This is one of the new shops that now stocks her Sewaholic patterns. Great news for around here, as I don’t know of any other shops that carry such a variety of (non-quilting) indie patterns . They also carry patterns by Colette, Amy Butler, Megan Nielsen, Oliver + S, and some others I’ve never seen before or read about.

Tuesday, February 19, 2013

Burda Style Tunic 01-2013-125

This has to be a record for me. I actually made this top in January, the same month in which this issue was published! I’m just a little behind blogging about it.

This top is featured in the magazine in a sequin fabric. Mine is a velour! Definitely not the same, but I liked the simple shape and have been looking for an easy pattern to use for velour. Ideally I want a standard sweatshirt pattern, like this one from That’s Not My Age. I’ve got a piece of luscious, velvety velour, and in a similar colour too (it’s way nicer than the fabric I used on this tunic).

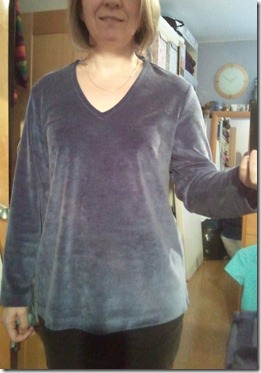
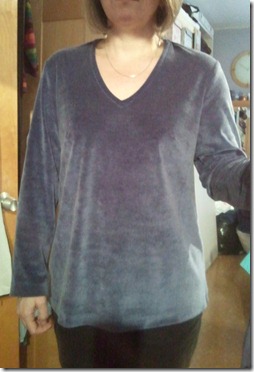
The velour used for this version is ok, but the nap is a bit flatter, so it’s more of a wearable muslin. I made my usual adjustments on the paper pattern pieces, but there are still some things that need tweaking, mainly the shoulder slope/armscye depth. The photo at left is how it sits normally, and the right one shows how it sits when I lift my shoulders a bit – some of the pull lines disappear and it looks a bit smoother.

2013-01-31 010  2013-01-31 011

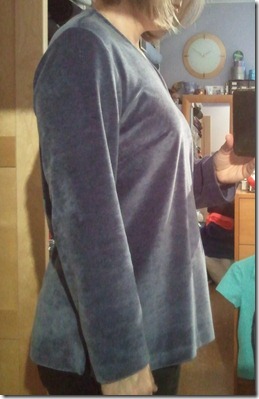
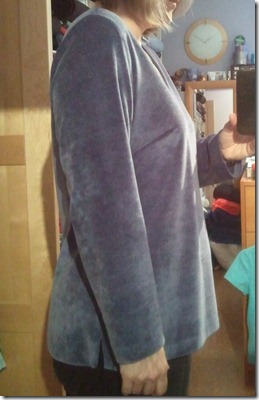
When I look at these photos I really notice how sloped my shoulders are. I already sloped the shoulders a bit and dropped the armscye, but it looks like a bit more is needed. Here are the side shots with my shoulders normal (left) and up (right).

2013-01-31 014  2013-01-31 015

One of my usual alterations is to widen the sleeve at the bicep by 1 inch, which ends up dropping the sleeve cap height. I’m not sure if height can be added back without lengthening the sleeve’s top edge. Do those sleeves look alright? Those wrinkles are always there pointing up to the sleeve cap, and it niggles me a bit!

I think I need to do something with the front though, it’s got the same thing happening as on my last Sorbetto, where the front hem sticks out. Someone commented on that post that I may need to do a slight FBA. I wondered about pulling in a bit of fabric under the bust dart (increasing it) which would essentially rotate the bottom front section and pull the hem back in. Anybody else have any idea?

2013-01-31 012

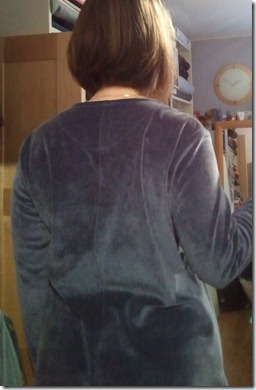
This is the back shot, which I’m not keen on.  At all! My butt is acting like a shelf! I’m not sure how a swayback adjustment could make this look much better, as the fabric is hefty, and the top is hip length after all. This style just might be one of those I should stay away from, as NOONE here at home has even commented on it.Thinking smileDoes that say it, or what?!

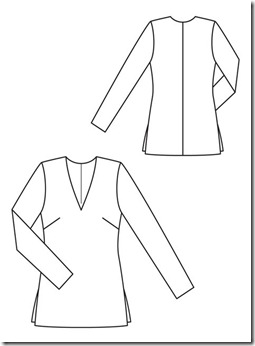
The line drawing looks nice, slimming!

125_technical_large

I guess I’ll just keep looking for a pattern more in the vain of a sweatshirt that has a bottom band and sits above the high hip. OR, get my dummy/twin finished and drape one. And that’s coming on slowly, but some progress has been made! More on that front soon.

Thursday, February 7, 2013

Cowl Neck Scarf

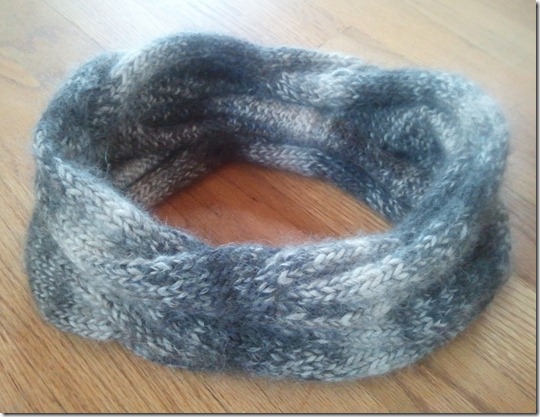
This thing is yummy. And cosy. Why did it take me so long to make one?!

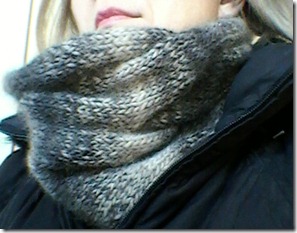
It’s the Burberry Inspired Cowl Neck Scarf (link to Ravelry) and it was seeing Debbie’s lovely version that made me dig out my knitting needles again. (sorry for the low-res phone pic)

2013-02-01 005

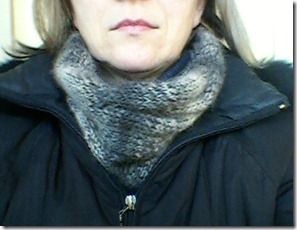
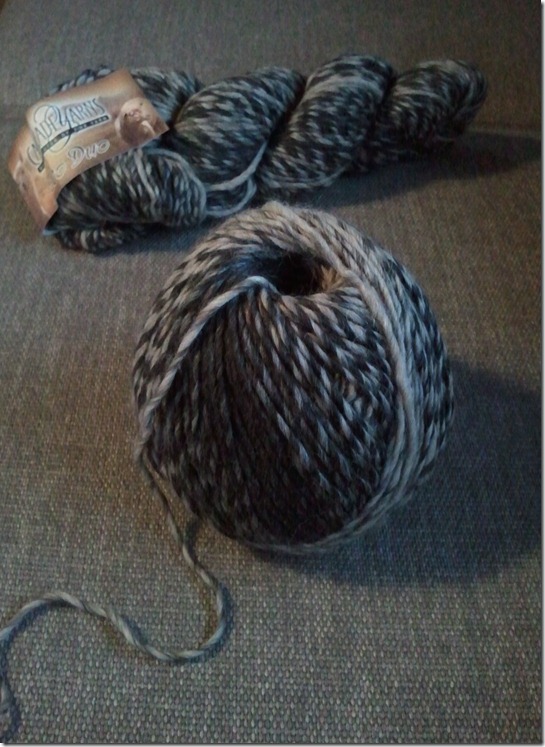
The yarn is Cascade Yarns Eco Duo, Baby Alpaca and Merino Wool. It’s beautifully soft and warm.

2013-02-01 004

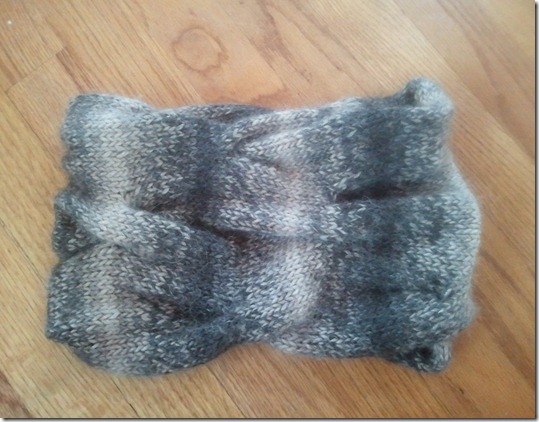
I love the yarn, and I love the pattern. But I don’t love the combination of *this* yarn’s variegated colours and the cabled pattern. I need to find a simpler pattern for the yarn, and a solid colour for the pattern.

2013-02-07_002

I wasn’t expecting the almost perfect repetition of colour, the yarn in skein form seemed – to me – to look more random.

While knitting this on my old plastic circular needles, of which I had 4 or 5 sets in the same size! (that happens when you work at summer jobs away from home during university and feel the urge to knit), I realized the truth that others have written about: Good tools will enhance the experience of creating something. So yes, I’m seriously considering getting some better needles, as those plastic ones were so stiff and contorted it was a struggle the whole way.

2013-02-07_003

At least I learned how to wind a center-pull ball from a skein, thanks to some videos on Youtube. It was monotonous but fun to do! And I don’t quite know how I managed it, but it didn’t come out in a round, ball shape, but more of a dome shape. It’s great actually, as the bottom is fairly flat and it sits there without rolling around! Perhaps it came out like this because I wound it loosely, the second ball was wound a bit tighter and it’s more rounded.

Yarn used for cowl neck warmer

I’ve got 2 more skeins in the same yarn, so I think I’ll look for a simpler pattern for the next one.

Thank you Debbie, and everybody else who’ve been showing their lovely knitted cowl neck scarves.

Friday, February 1, 2013

My Twin, the Dress Form – Part 1 & 2

Even though it’s just at the halfway mark I thought I’d share some of this adventure. The dress form I’m making is based on this one from the Burda Style site, by tyui2 in Kuopio, Finland. For the paper tape form, part 1, I took a lot of tips from a post by Johanna at Making It Well.

Warning: Lots of pictures

Here’s a brief summary: First, a paper tape form is created. When this is dry and hard, it is used as the mould for the final paper tape (or Mache) dress form. The original paper tape form can be saved as a backup. In order to use the paper tape form as a mould it is cut apart in two sections along the sides, making it easier to create the inner mould.

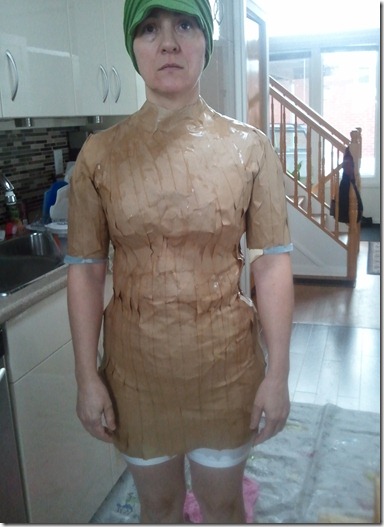
Part 1: Being wrapped
2013-01-25 002

Here I am with 2 layers, which took close to 1.5 hours. I’m wearing the hat because my hair isn’t long enough for a ponytail, AND because I was freeeeeeeezing. Yeah, it was one of the coldest days in January and I’m wearing short sleeves and shorts (they’re actually a bodyshaper), and I’m having wet paper tape stuck to me and it’s seeping through the t-shirt. Not very nice. This is also when my husband had to take off and pick up the kids after school, but luckily he got the portable heater from my sewing room before leaving. An hour later he started the 3rd layer, which took almost another hour. (That’s 4.5 hours! My back and shoulders were *ACHING*.)

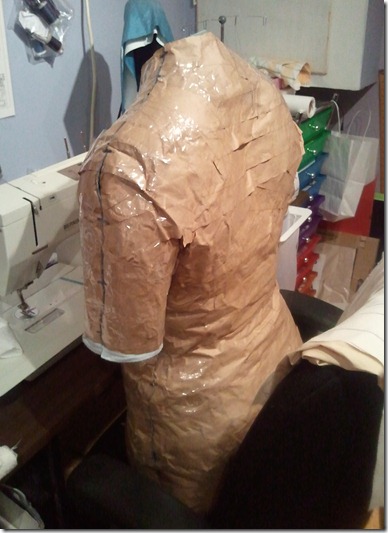
The finished form (part 1) looks like this:
2013-01-27 001 

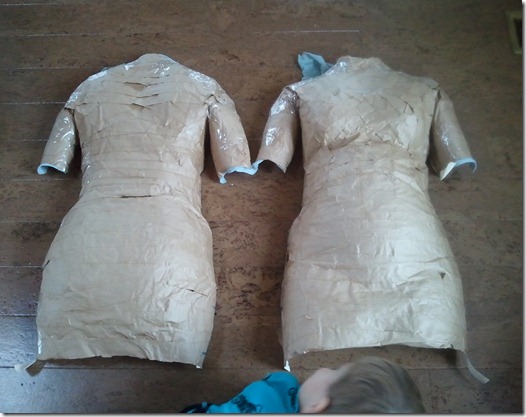
Here it is cut in half ready for part 2.
2013-01-29 002

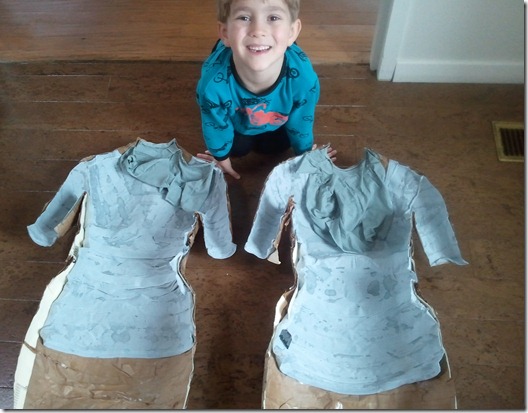
And the inside (with gratuitous shot of the young lad - Henry!)
2013-01-29 003

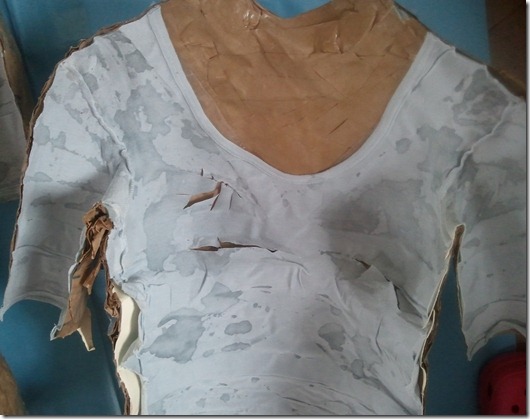
I had to snip the t-shirt in a few places (the bust) where it was over-stretched and had come away from the paper tape.
2013-01-29 005

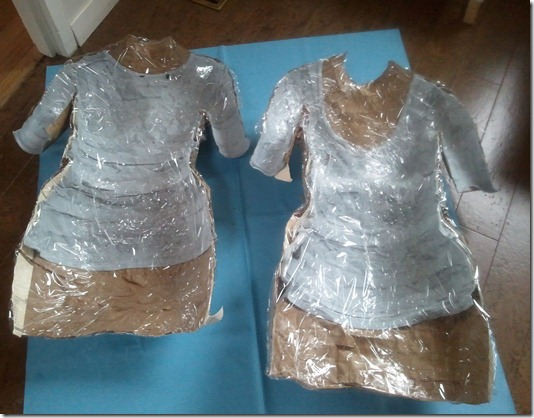
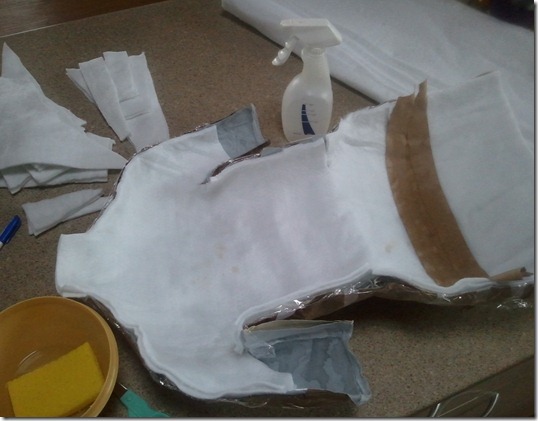
Part 2: Creating the twin. The inside is lined with plastic food wrap (the original method uses aluminum foil) to protect it from becoming wet and disintegrating.
2013-01-29 006

Next I lined the inside with a Needlepunch polyester batting, which is quite thick, about 5mm. In the pic below it looks like 2 layers of batting, but that’s where the two layers were coming apart. I had to cut and insert small pieces in a few places, mainly on the front at the bust. This batting has some give, you can pull it and form it a bit, but it would become thinner.
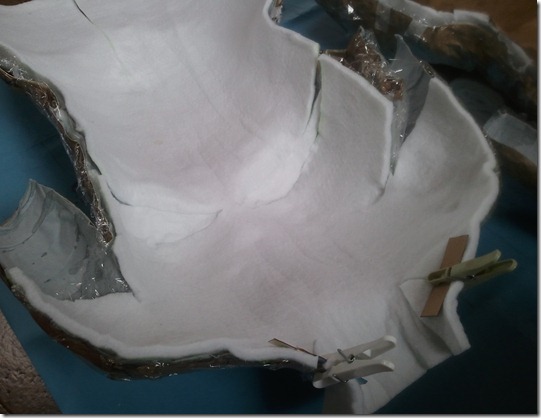
2013-01-29 0072013-01-30 001

I extended the neck with the batting, as we didn’t go high enough with the paper tape.

Now for the inside. More paper tape, the pic below was taken after the 2nd layer on both halves. It’s the end of day two and this was much faster than the first.
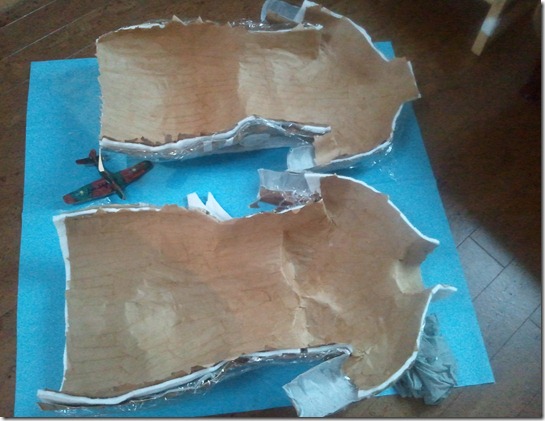
2013-01-30 002

This dried pretty hard with a few hours in front of the portable heater, then overnight. Day 3 was just the third layer, and left it overnight again.

Today I did some other stuff because to be honest, I needed a break from this. Standing for hours on end is tough! So, after the kids got home I started to get the twin prepared to be put back together. I had to trim around the edges where the paper tape had gone past the batting, to make sure it matched the original form’s edges. A bit fiddly to cut as there are probably 8 layers of paper tape in some places, and it’s as hard as cardboard.
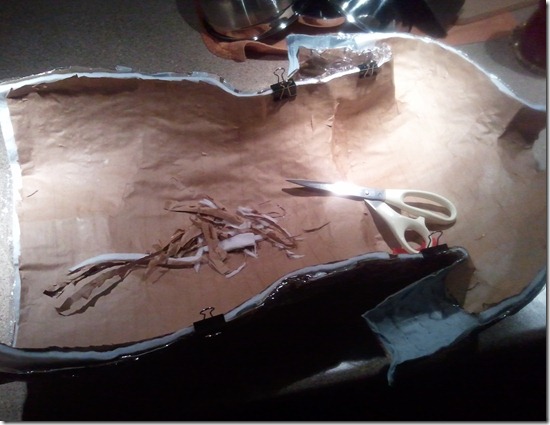
2013-02-01 006

Those alligator clips sure came in handy, especially during the initial drying phase.

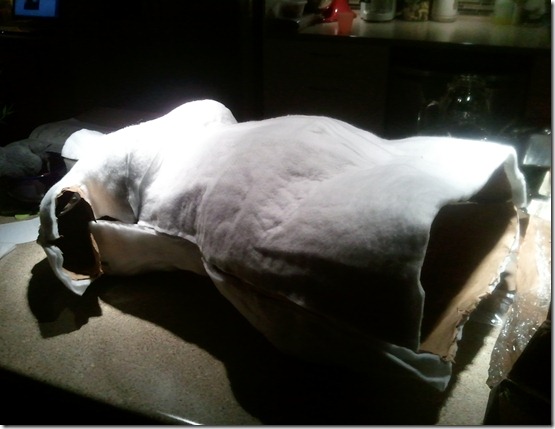
And here it is right now, the two halves waiting to be joined.
2013-02-01 003

Tomorrow I’ll tape them together inside, measure her and make adjustments as needed. I’ve already got some black stretch fleece from stash to cover her, fiber fill to stuff her, but no stand as yet. She should be finished next week, and I can’t wait to see her!!!

Next post is about a snuggly cowl neck scarf that I made way back in December after seeing Debbie’s lovely version! I’m a bit late writing about it, but it’s still cold as hell to wear it.